How to Build an E-commerce Site with a Perfect Lighthouse Score
Today’s consumers are more demanding than ever, especially when it comes to shopping online. These experiences must feel intuitive and snappy. Even a 100-millisecond delay in load time can hurt conversion rates by 7%.
Our merch store (source here), built with Fresh and Shopify’s storefront API, is server-side rendered (SSR) with some islands of interactivity and deployed close to users on the edge. Sending only what the client needs keeps the site lean and fast, earning it a perfect Lighthouse score.
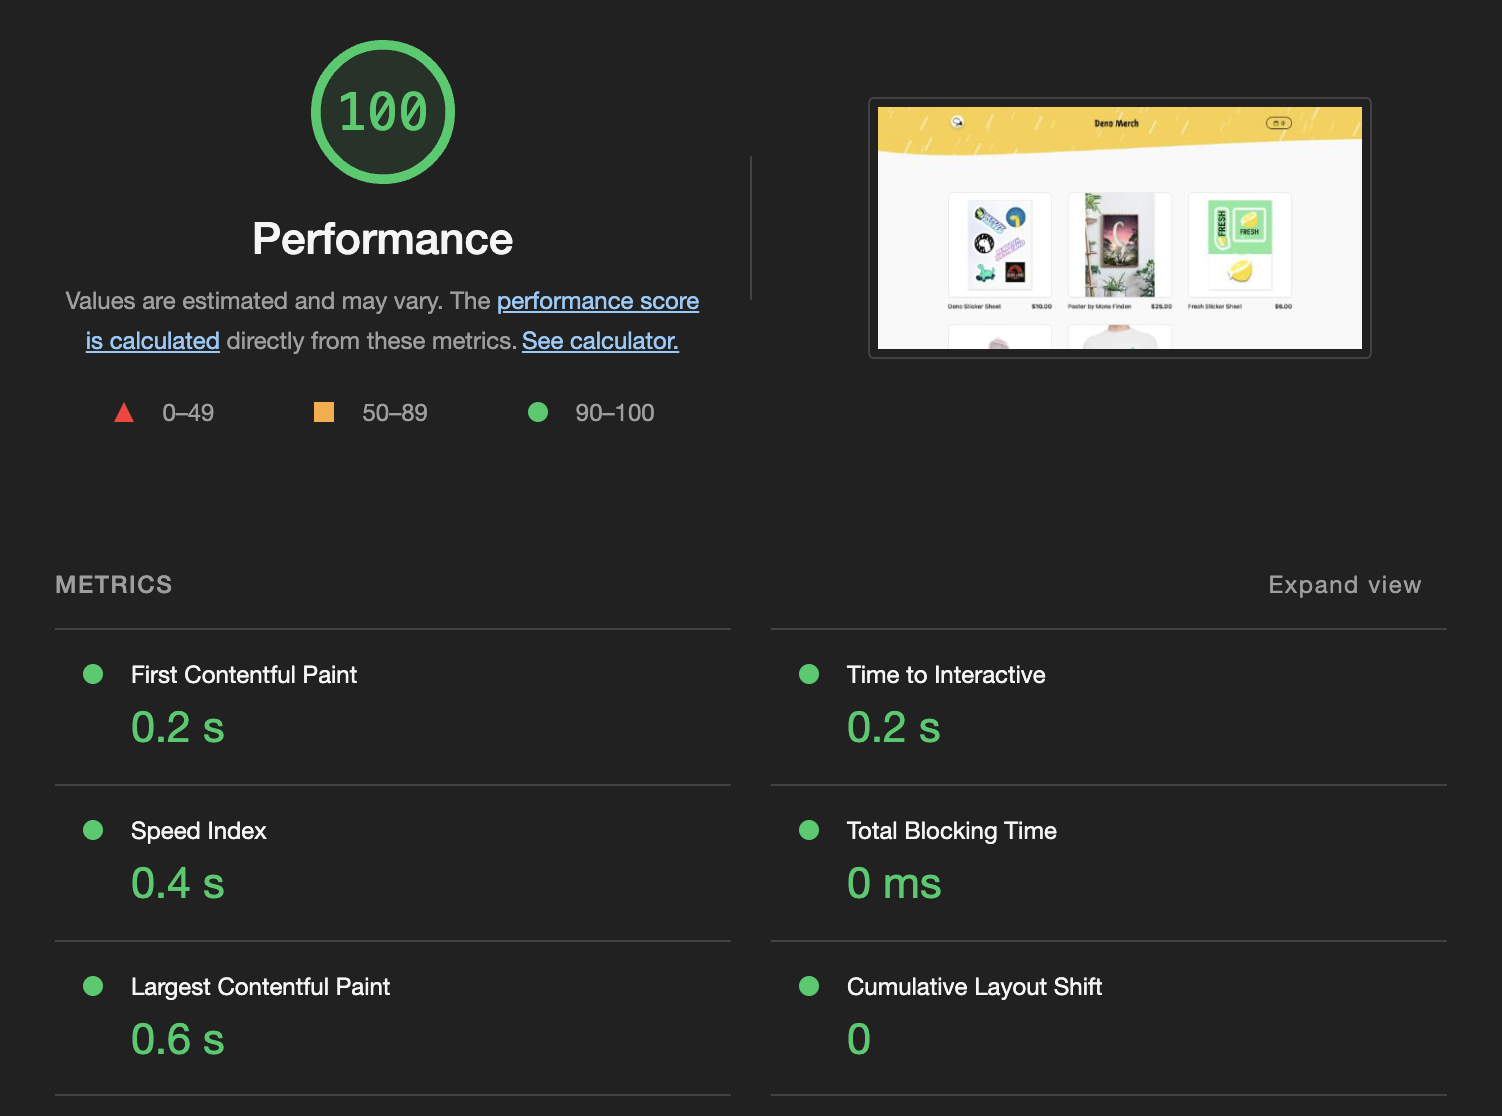
This is a tutorial on how to build an e-commerce site with a perfect Lighthouse score using Fresh and Shopify.
Fresh
We used Fresh, an edge-first web development framework that sends zero JavaScript to the client by default. In cases where interactivity is needed, such as the image carousel on the product detail page or the shopping cart, Fresh uses islands architecture, which sends client-side JavaScript on a component basis:
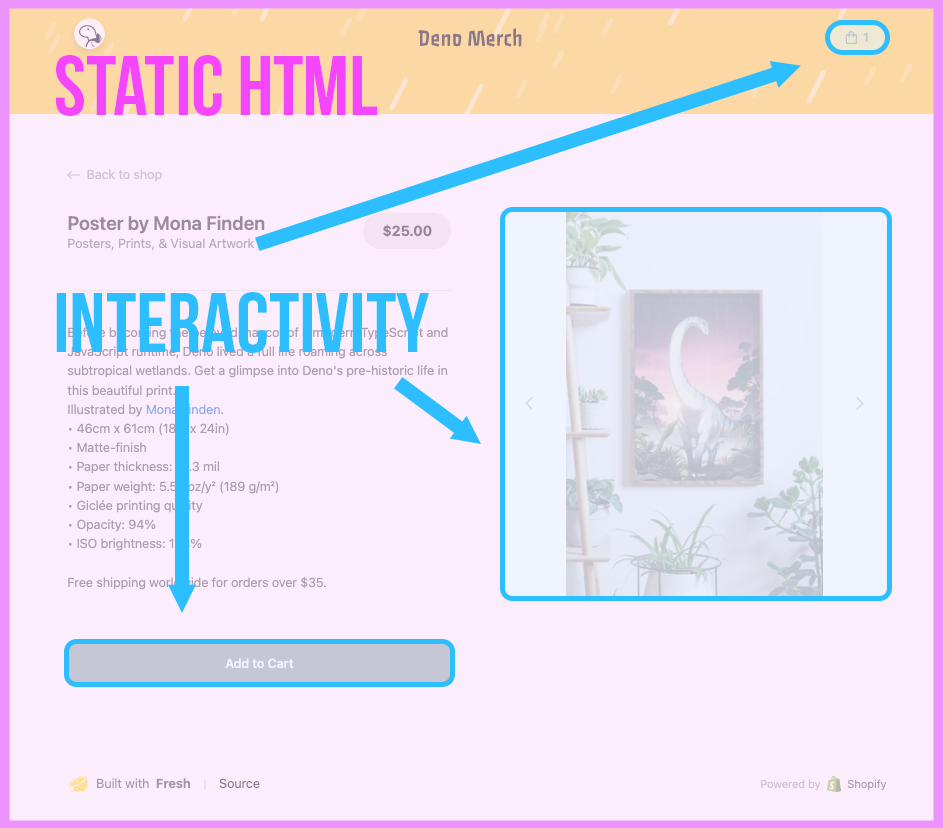 Everything is server-side rendered as static HTML with the exception of some
islands of interactivity.
For the shop backend we used Shopify. It’s Storefront API that can retrieve inventory data, and keep track of a users’ the shopping cart, and handle checkout and payments.
Fresh uses a filesystem routing system. To better understand how it works, let’s take a look at the directory structure.
merch/
├── README.md
├── deno.json
├── dev.ts
├── fresh.gen.ts
├── import_map.json
├── main.ts
├── components
├── islands
│   ├── AddToCart.tsx
│   ├── Cart.tsx
│   └── ProductDetails.tsx
├── routes
│   ├── api
│   │   └── shopify.ts
│   ├── products
│   │   └── [product].tsx
│   ├── _app.tsx
│   └── index.tsx
├── static
│   ├── favicon.ico
│   └── logo.svg
└── utils
The two main subdirectories where the logic for server side rendering and
islands happen are routes/ and islands/.
Routes
Each .tsx file in the routes/ folder server-side renders a page or exposes an
API endpoint.
The index page, or https://merch.deno.com, is
index.tsx.
When a request is made, the edge server retrieves the data from Shopify in the
handler function, then renders that through the
Home
component.
The
products/[product].tsx
file dynamically generates a server-side rendered product page. The value of the
[product] in the path is accessed in the handler function through the
parameter ctx (ctx.params.product). For example, when a request is made to
https://merch.deno.com/products/sticker-sheet,
the handler function grabs the value sticker-sheet, retrieves the product
data from Shopify, then renders it through the
ProductPage
component.
Finally,
api/shopify.ts
exposes programmatic access to updating the shopping cart. Every time a user
modifies the shopping cart, the request doesn’t go directly from the user’s
browser to Shopify. Instead, the request goes through this endpoint, which then
handles it and forwards it to Shopify. (More on this in the Shopify section
below.)
Islands
An e-commerce site can’t be completely static, since certain components like the
shopping cart need to be interactive. We can add those interactive components in
islands/.
For example, on each product page, when a user clicks on the arrow, the images rotate:
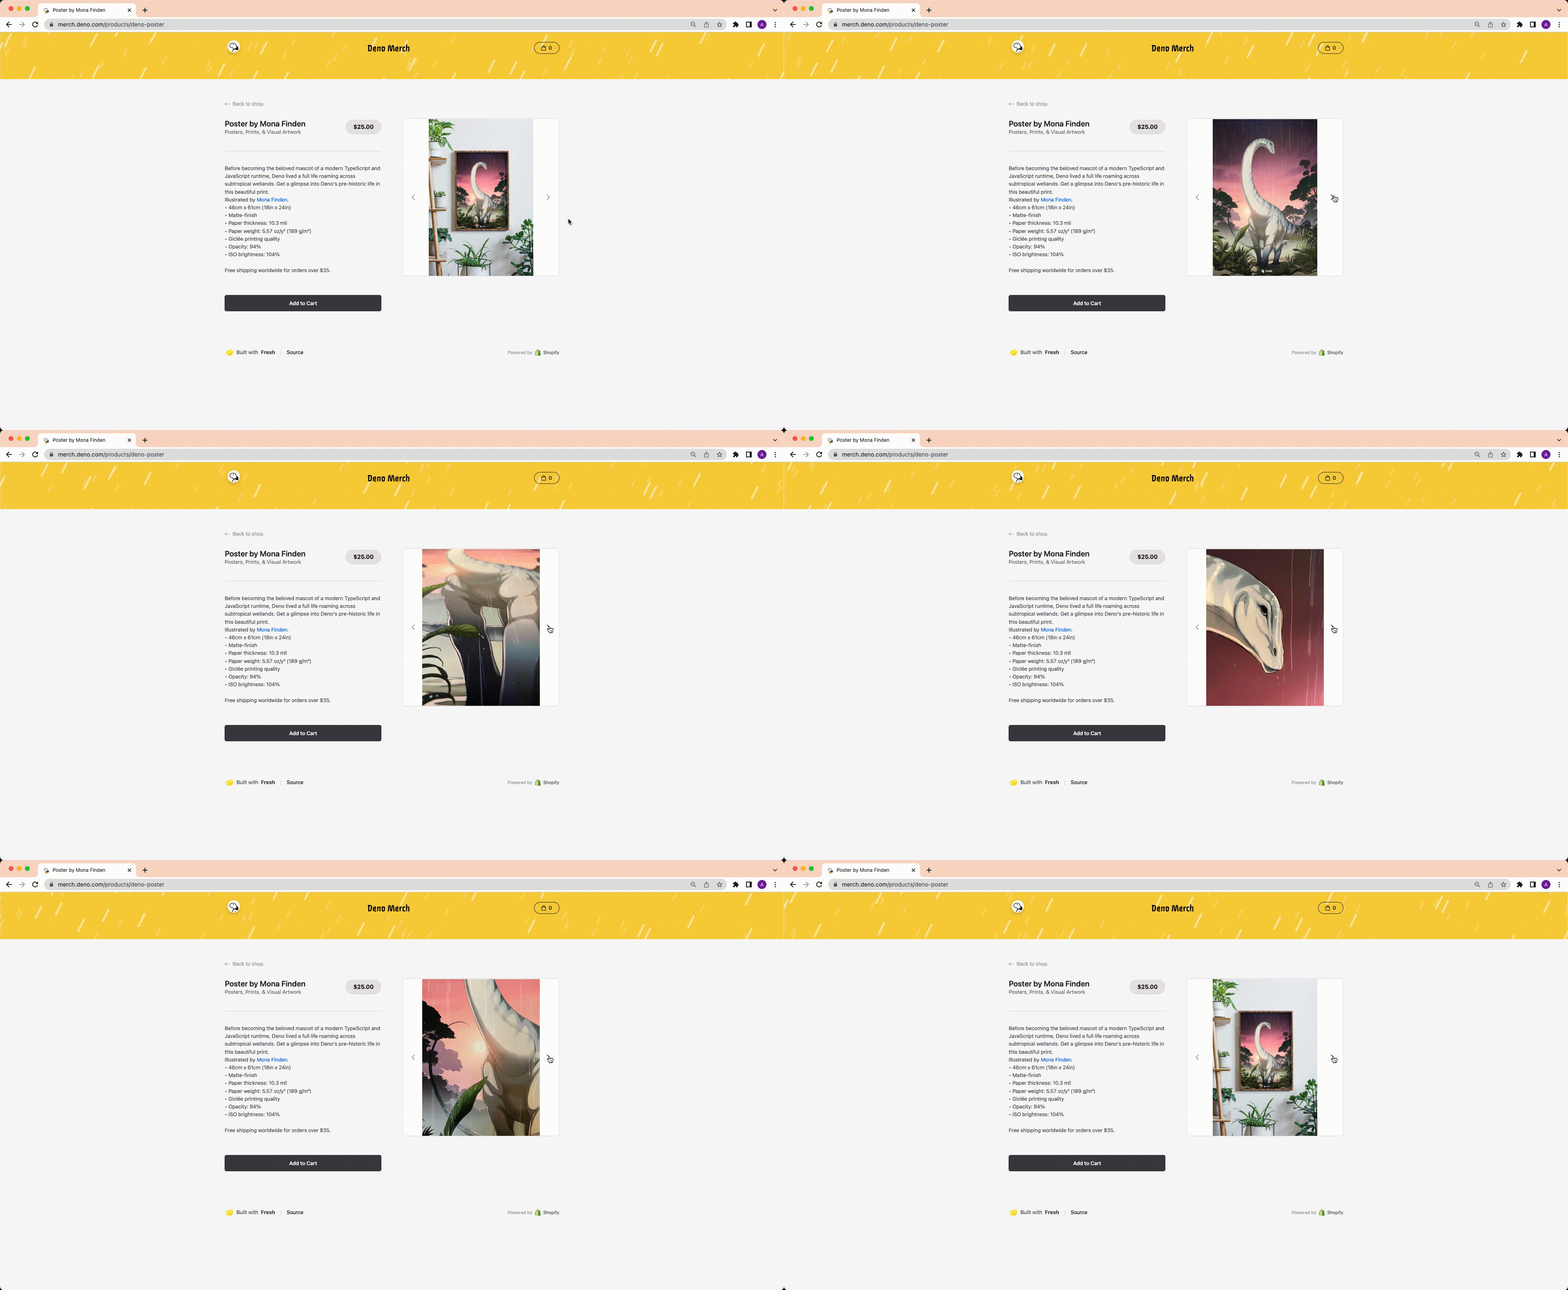
This client-side rendered behavior is defined in
ProductDetails.tsx,
where we declare the changeImage function and bind that to onClick in the
ProductDetails
component.
Similarly, other interactive elements include adding to cart and updating the
cart, whose client-side logic can be found in
AddToCart.tsx
and
Cart.tsx
respectively. In each island component, we define functions and bind them to the
onClick listener.
Note that to manage state on the client-side, we import and use useState from
preact/hooks, which triggers a
re-render when the state changes.
Shopify Storefront API
There are a two main ways where this storefront interfaces with Shopify’s API.
First is retrieving inventory data from Shopify. This is a simple graphql GET
request that is made in the handler function in each of the /routes
components files:
// ./routes/index.tsx

const q = `{
  products(first: 10) {
    nodes {
      id
      handle
      title
      featuredImage {
        url(transform: {preferredContentType: WEBP, maxWidth:400, maxHeight:400})
        altText
      }
      priceRange {
        minVariantPrice {
          amount
          currencyCode
        }
        maxVariantPrice {
          amount
          currencyCode
        }
      }
    }
  }
}`;

export const handler: Handlers<Data> = {
  async GET(_req, ctx) {
    const data = await graphql<Data>(q);
    return ctx.render(data); // This function passes `data` to the component.
  },
};
Second is updating Shopify’s shopping cart. There are three parts to this:
graphqlwrapper function (/utils/shopify.ts), which adds authentication and other relevant headers to the request- a bunch of helper functions in
/utils/data.ts, which abstracts away the queries into human-readable functions - our endpoint,
/routes/api/shopify.ts, which receives a query and input from the client (e.g. when a user adds a product to cart) and creates a request to Shopify’s API via thegraphqlwrapper
When a user interacts with the shopping cart, the relevant islands/ component
will call a helper function (e.g. addToCart). That function will call our
/api/shopify endpoint with the corresponding query and payload, then calls our
graphql wrapper function, which adds authentication to the request and
ultimately sends it to Shopify’s API.
Image Optimizations
In order to achieve the perfect Lighthouse score, it’s important to be intentional about the size of every file coming from the server.
Shopify’s Storefront API can
apply a transform to our images.
In the below snippet of a graphql query,
we request
the image at 400x400 and content type
WEBP.
featuredImage {
  url(transform: {preferredContentType: WEBP, maxWidth:400, maxHeight:400})
  altText
}
Serve your site close to your users
You could have the fastest store, but if your users are thousands of miles away from your server, your site’s time to first byte is still at the mercy of the speed of light.
To further minimize latency, we’ve hosted our merch store globally on the edge with Deno Deploy.
Every time someone visits our store, the closest edge server receives a GET
request, asks Shopify for the relevant data, renders it in HTML, then sends it
back. With 34 global locations, no user will be further than a couple of
millisconds away from your site.
See how fast our store shows a new product image after we update the product in Shopify:
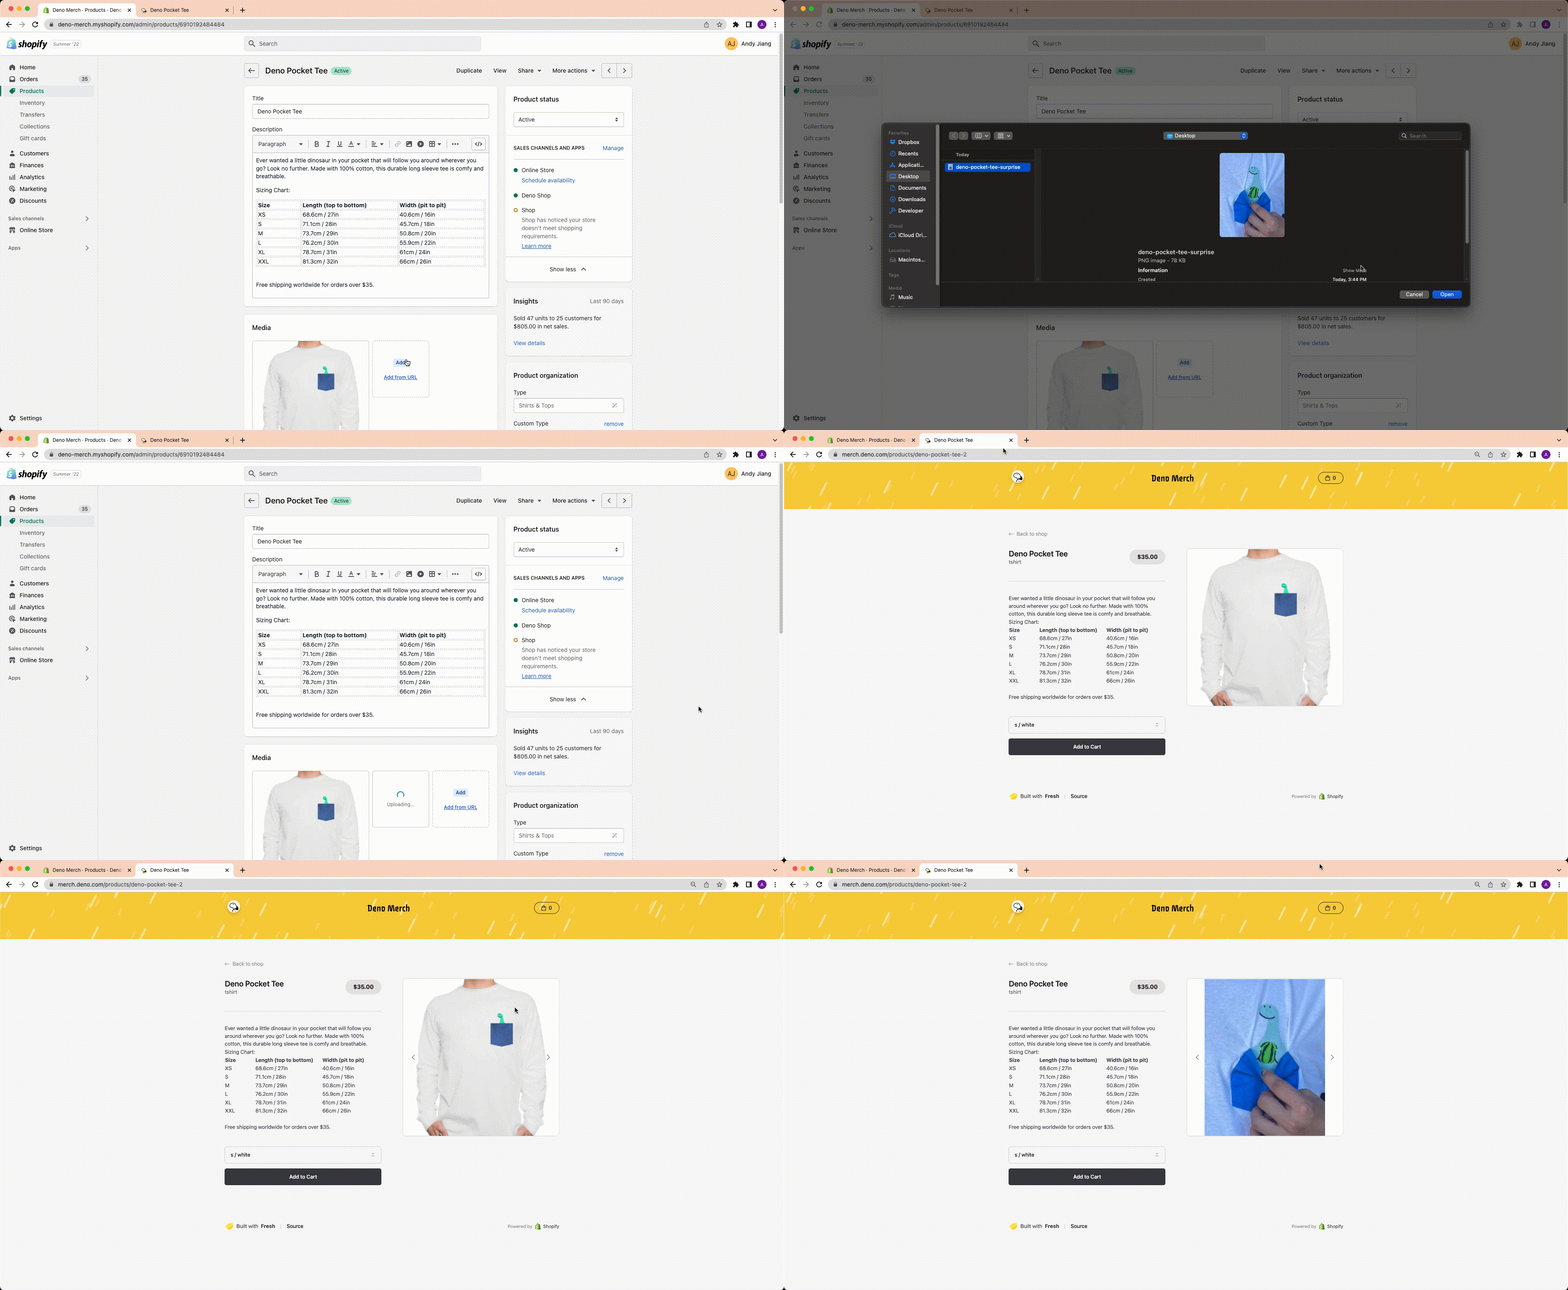
Setting up Deno Deploy is as simple as connecting your GitHub, selecting the repo, and the entrypoint file:
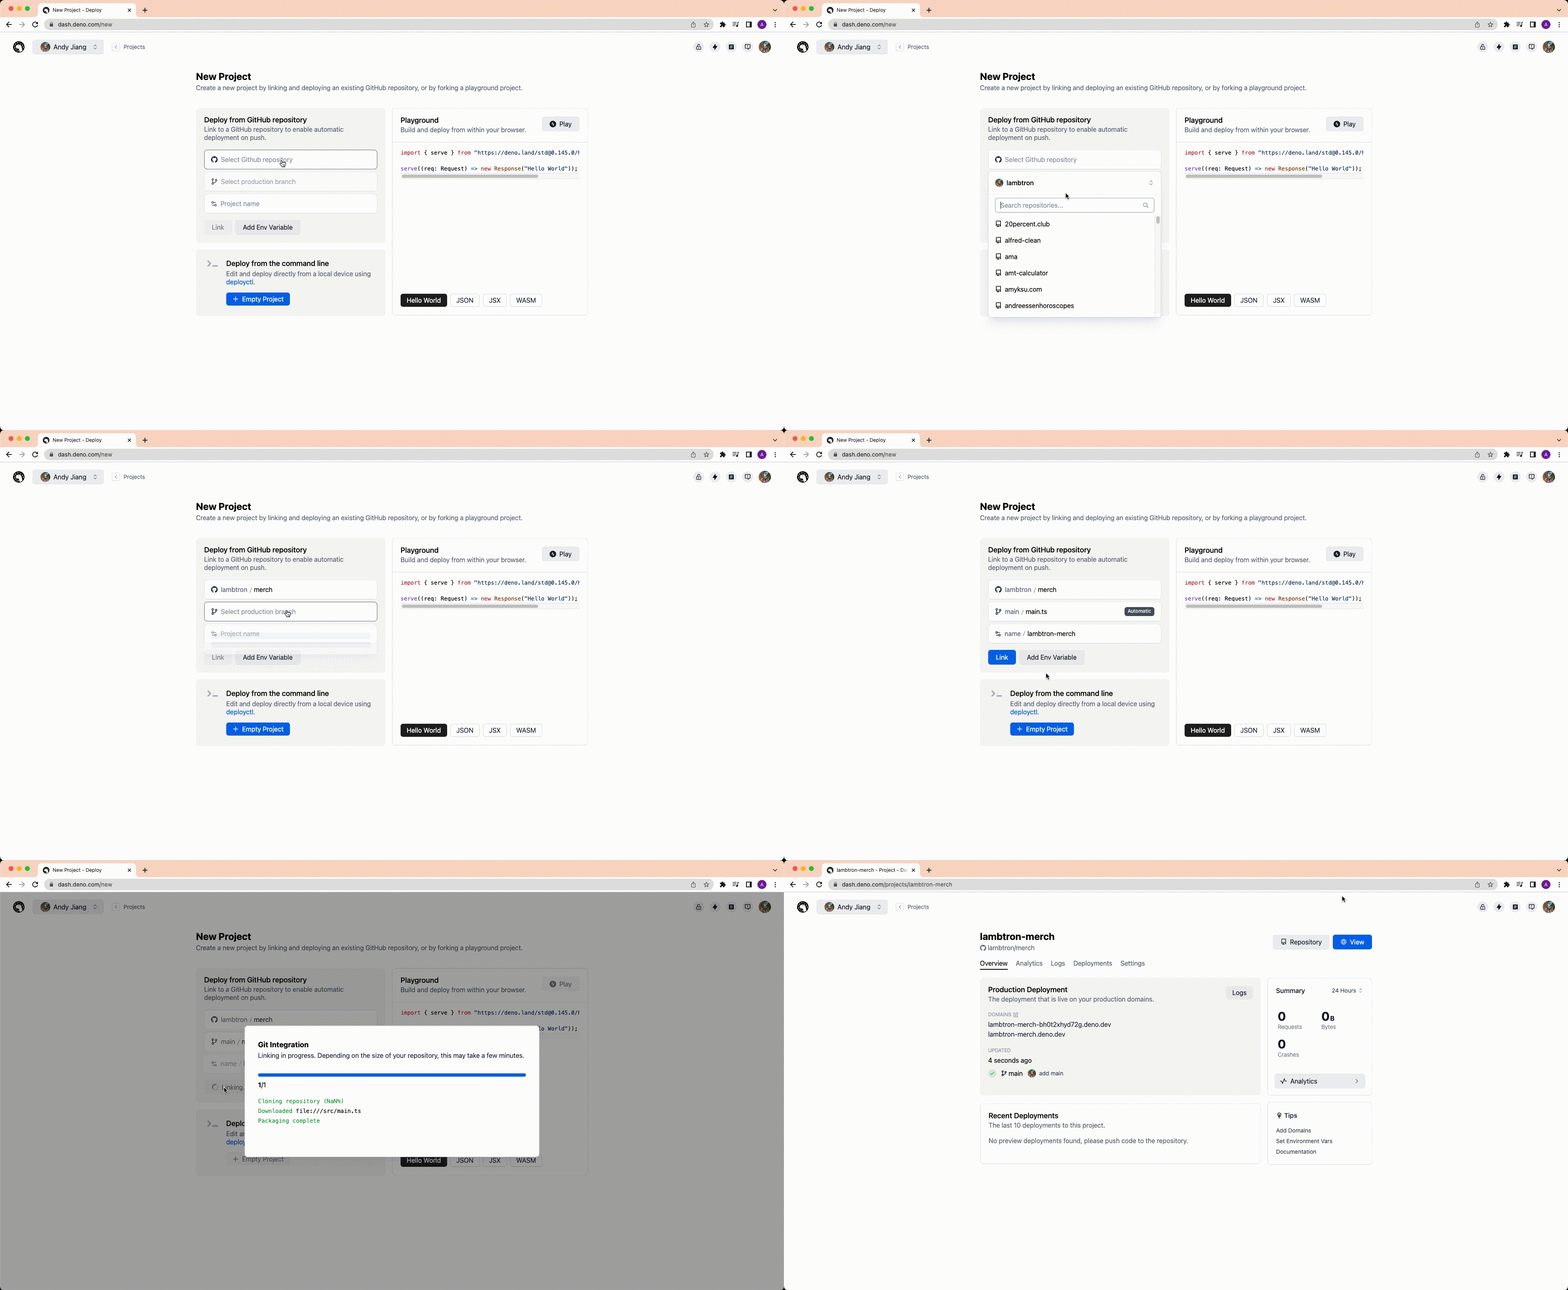
Every time you merge to your main branch, it is updated on Deno Deploy within seconds.
What’s next?
While building for the web has gotten easier, in some ways its more complex than ever. We must support a wide variety of screen sizes and internet speeds. Though we can’t control whether our users will be at their laptop or on a train under a tunnel, we can control what gets sent from the server.
We’ve built and open sourced our merch store to show everyone how simple (and fun!) it can be to create an e-commerce store with a perfect Lighthouse score.
Are you building with Deno or Fresh? Share it with us on Discord or Twitter!
